• Skip to primary navigation
  • Skip to main content
  • Skip to primary sidebar
Green Valley Kitchen
  • Home
  • About
    • Meet Me
    • Disclosure
  • Recipes
  • Subscribe
    • Email
    • Instagram
    • Pinterest
menu icon
go to homepage
subscribe
search icon
Homepage link
  • Recipes
  • About
  • Subscribe
    • Email
    • Instagram
    • Pinterest
  • ×

    Home » Recipes » Dessert

    Old Fashioned Brownies

    Published: Feb 10, 2019 · Modified: Nov 12, 2022 by Geraldine · 121 Comments

    Jump to Recipe·Print Recipe
    Old Fashioned Brownies | Green Valley Kitchen

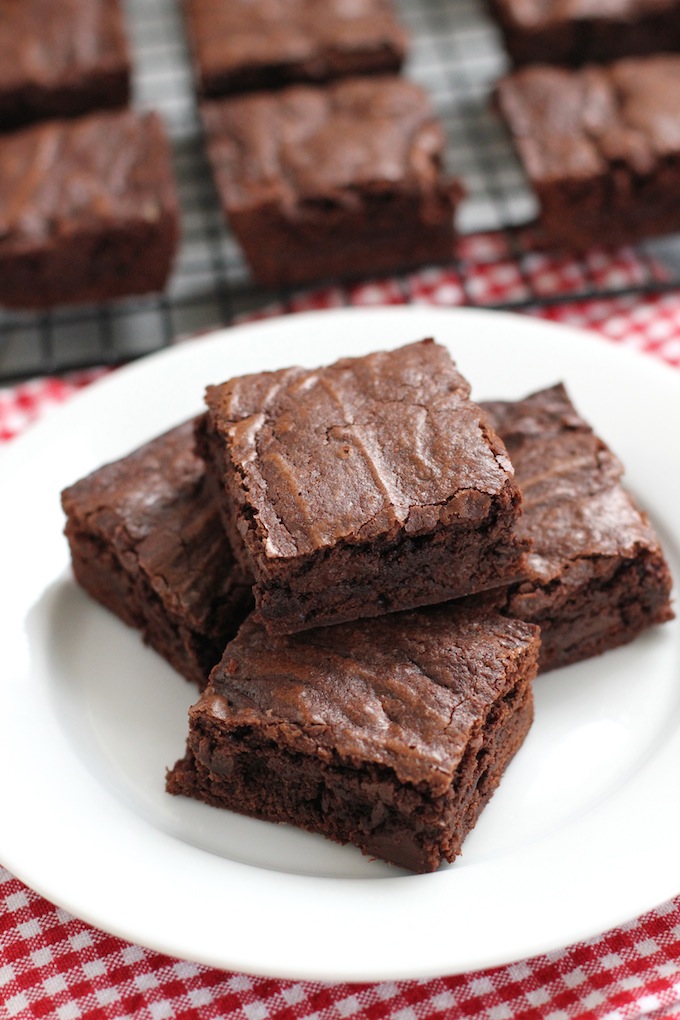
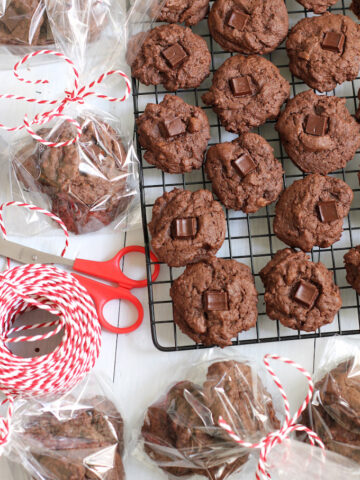
    Old fashioned brownies are rich, dark chocolate brownies with a soft chewy center, firm edges and a crackly top. Easy and simple to make using just one bowl.  A family favorite!
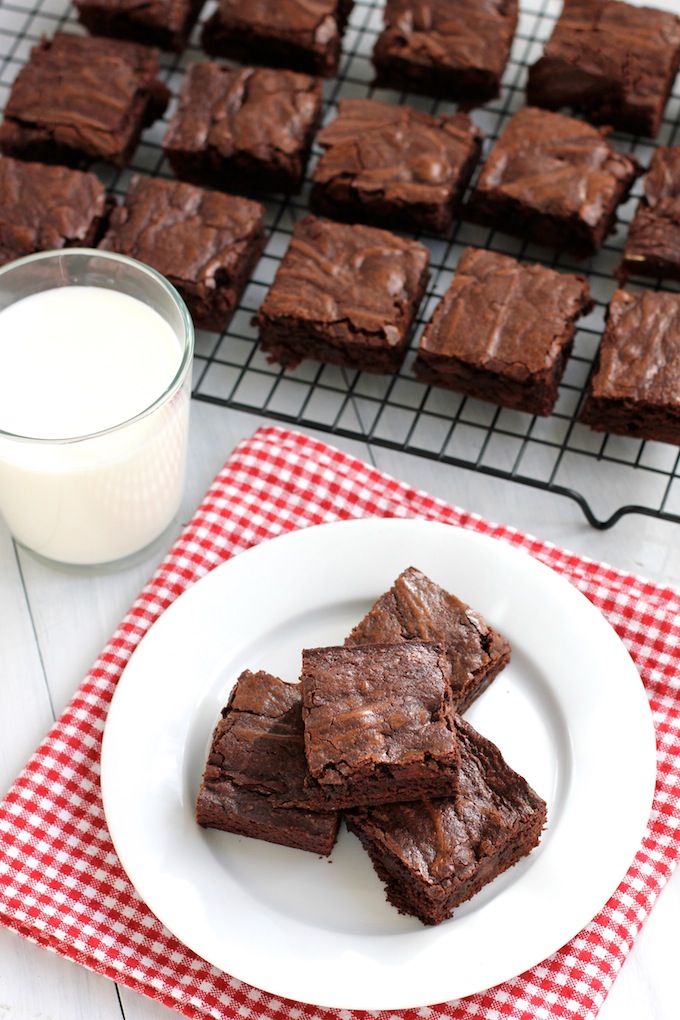
    Old Fashioned Brownies | Green Valley Kitchen

    UPDATED:  I originally posted this recipe in January, 2015 and it has been one of the most popular recipes on my site – especially around Valentine’s Day.  So I have updated the recipe with step by step photos and added some tips to show how easy it is to make these old fashioned brownies.  Hope you enjoy it!

    Since Valentine’s Day is coming up I thought I’d share with you a recipe for old fashioned brownies.

    These brownies have a soft chewy center, firm crisp edges and a sugary, crackly top.  They are rich, chewy, fudgy, dark chocolate brownies.

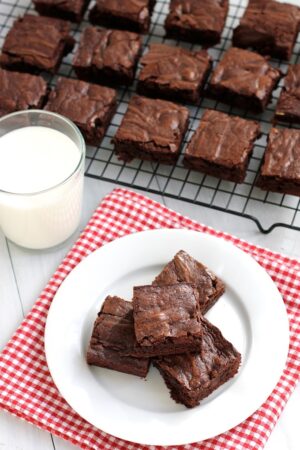
    They are super simple to make – using just one bowl.  So make yourself or someone you love some of these old fashioned brownies.
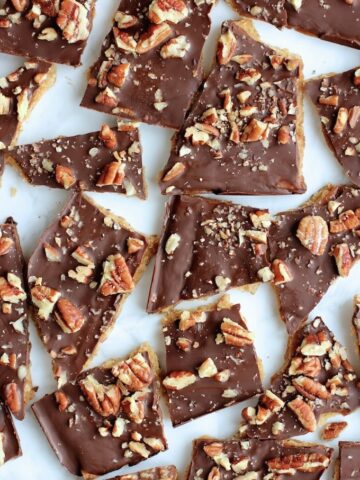
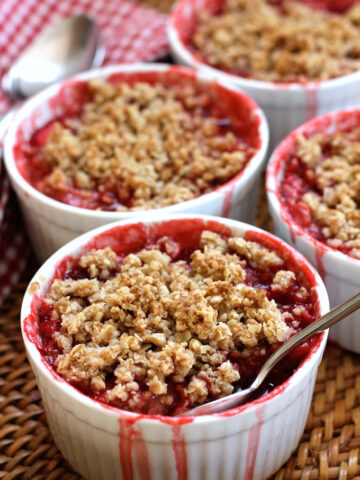
    Steps for making Old Fashioned Brownies:

    Old Fashioned Brownie Ingredients

    • Prep and measure out all your ingredients so they are ready to go.
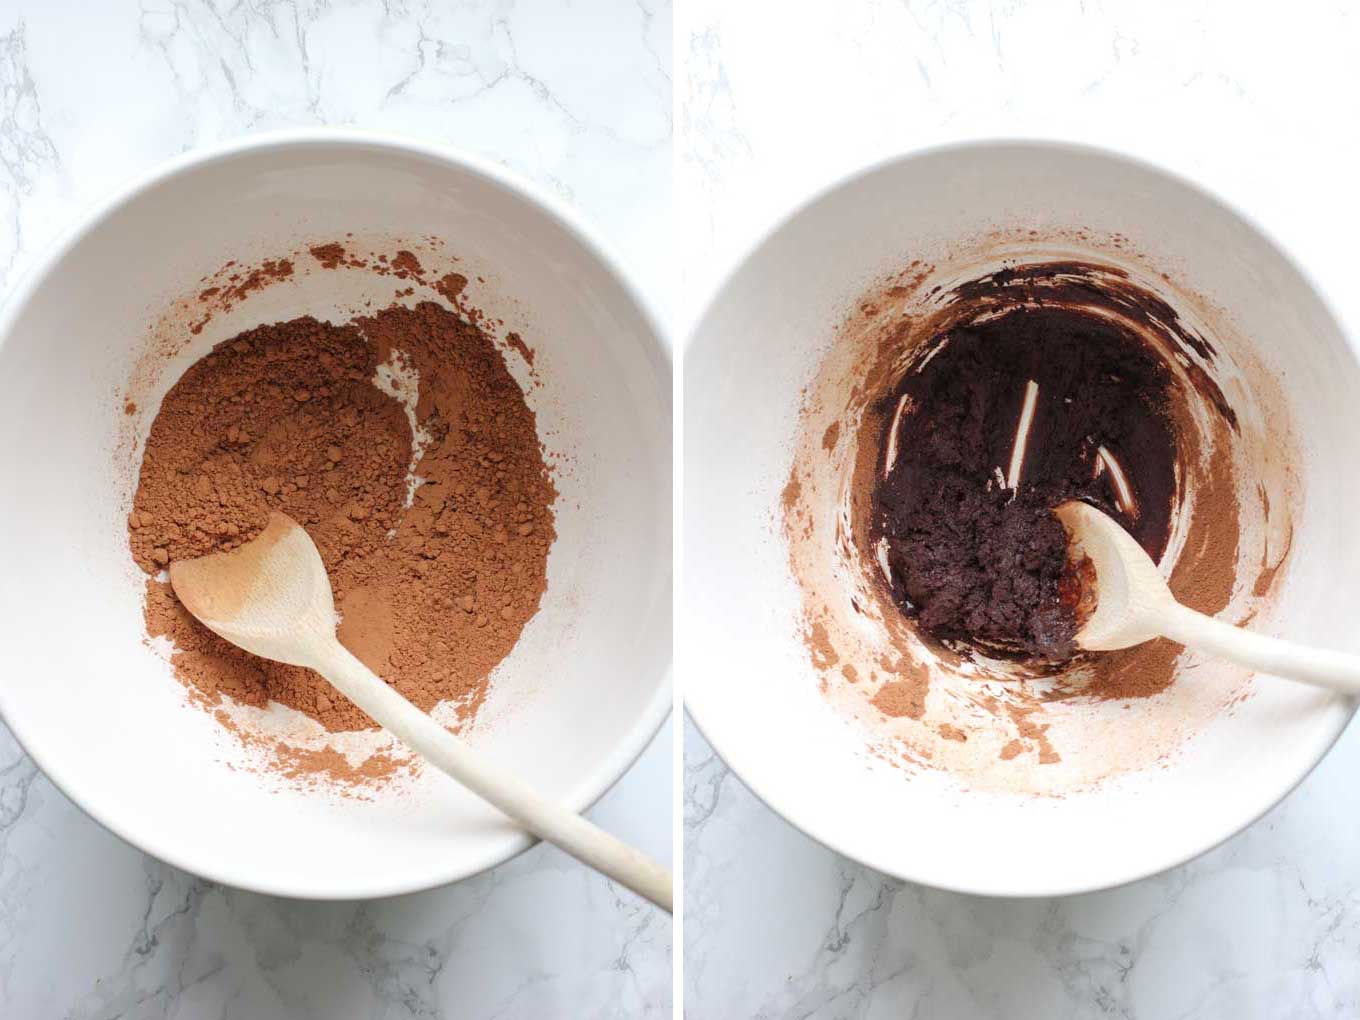
    Old Fashioned Brownie - steps to make - 1Old Fashioned Brownie - steps to make - 2

    • Add cocoa and baking soda to a large bowl and stir to combine.
    • Add half the melted butter to the cocoa mixture and stir – it will form a thick paste.
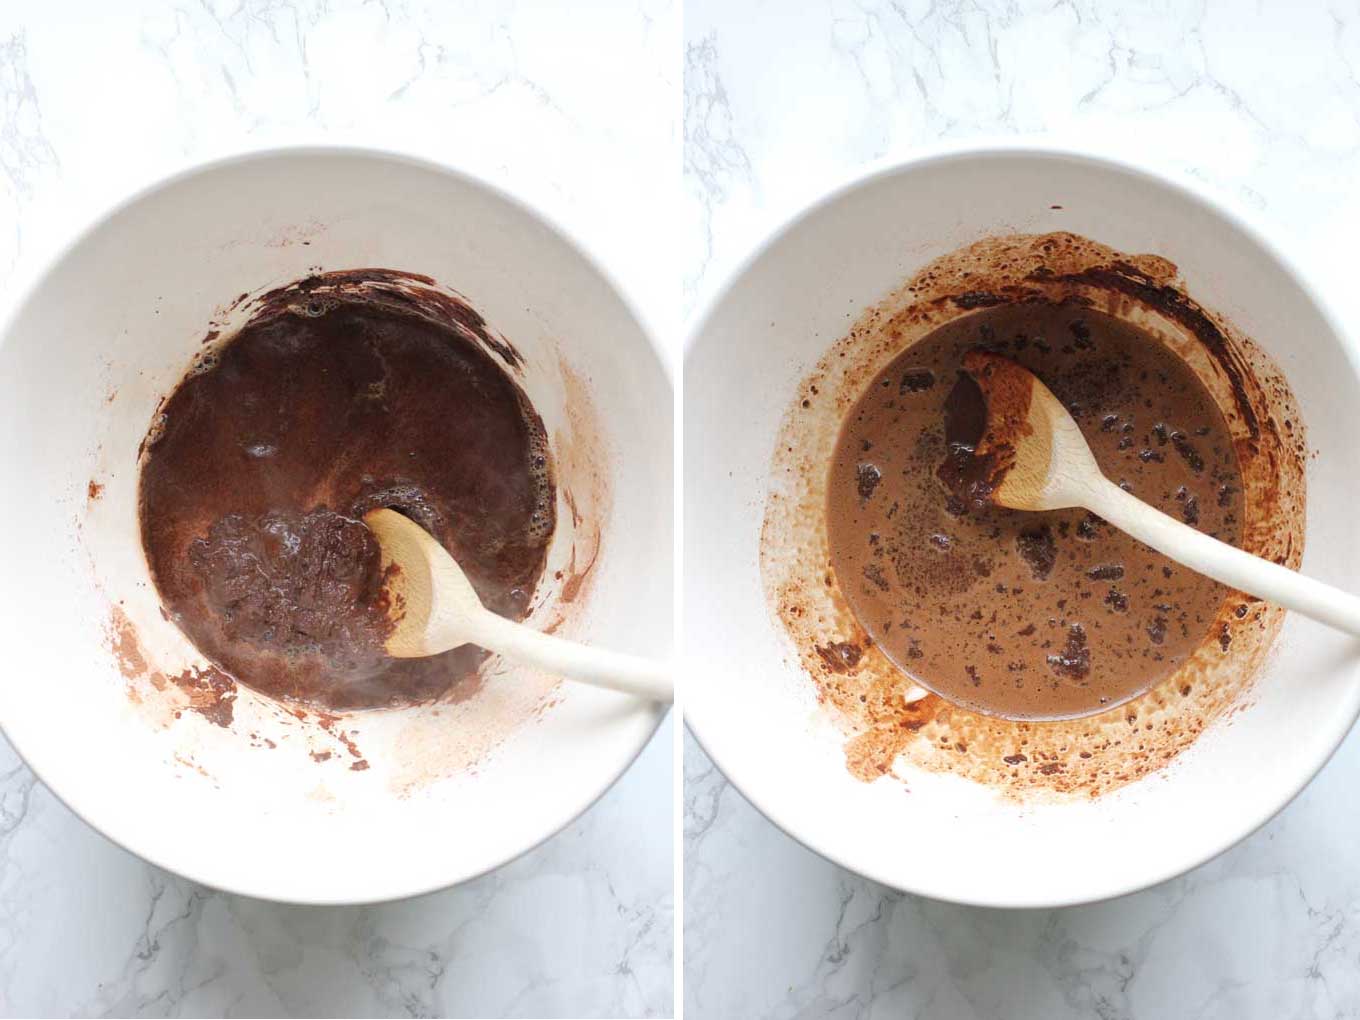
    • Add boiling water to the cocoa mixture.
    • Stir to combine water and cocoa mixture – it will be very liquidy and it won’t be completely smooth – which is okay.

    Old Fashioned Brownie - steps to make - 3Old Fashioned Brownie - steps to make - 4

    • Add sugar, eggs and the rest of the melted butter to the mixture.
    • Stir completely to combine all ingredients.
    • Sift flour over chocolate mixture and add vanilla and salt.
    • Stir to incorporate flour completely – scrape down sides occasionally as you stir.
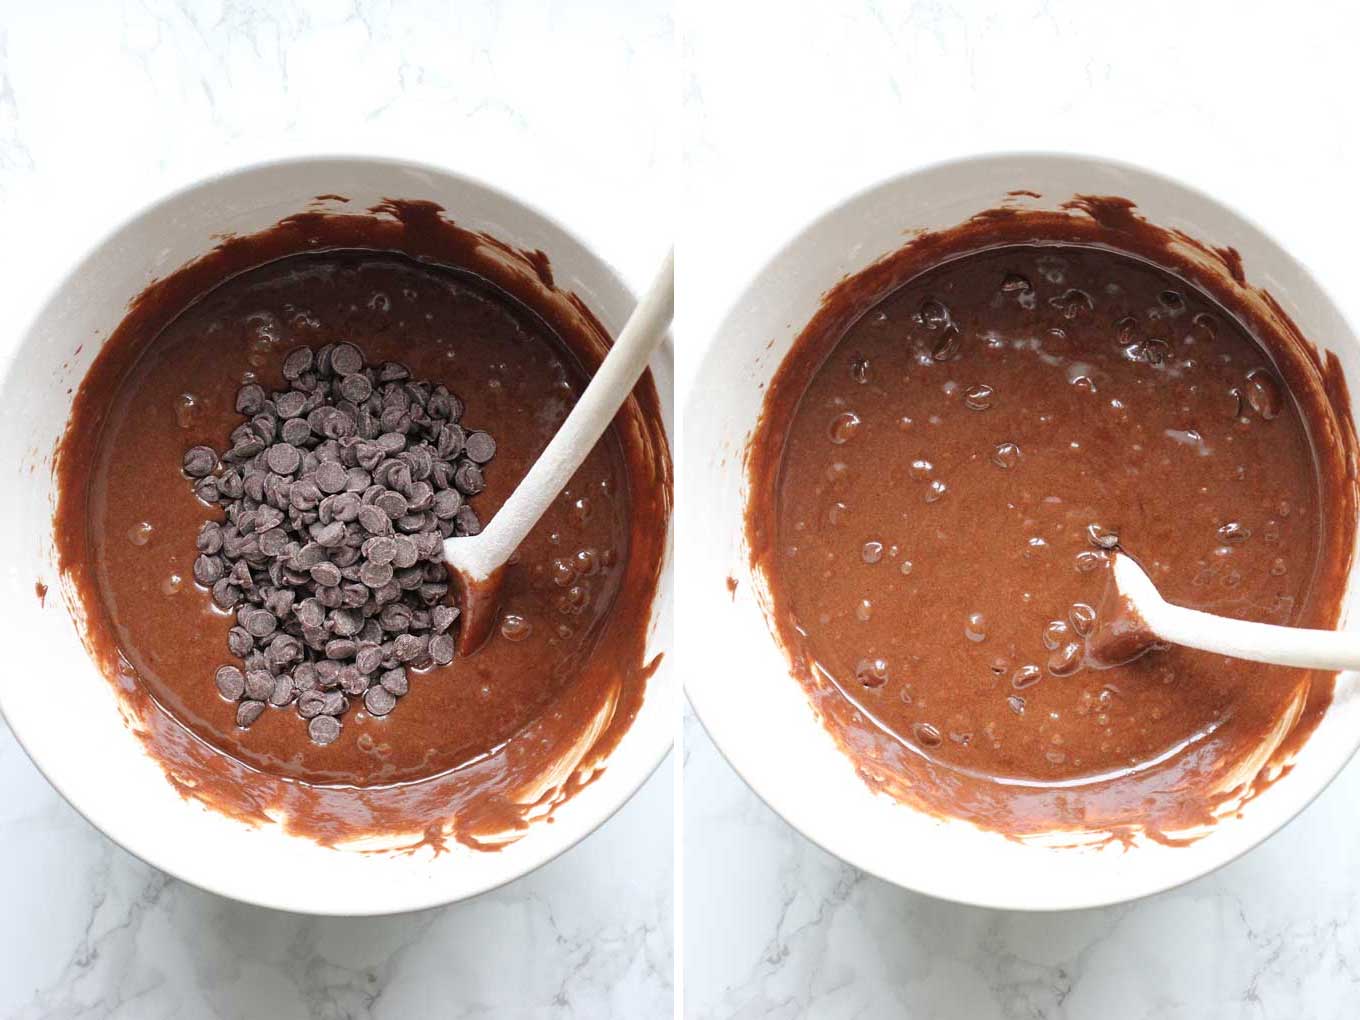
    Old Fashioned Brownie - steps to make - 5Old Fashioned Brownie - steps to make - 6

    • Add chocolate chips to the brownie mixture.
    • Stir in the chocolate chips to combine with the brownie mixture.
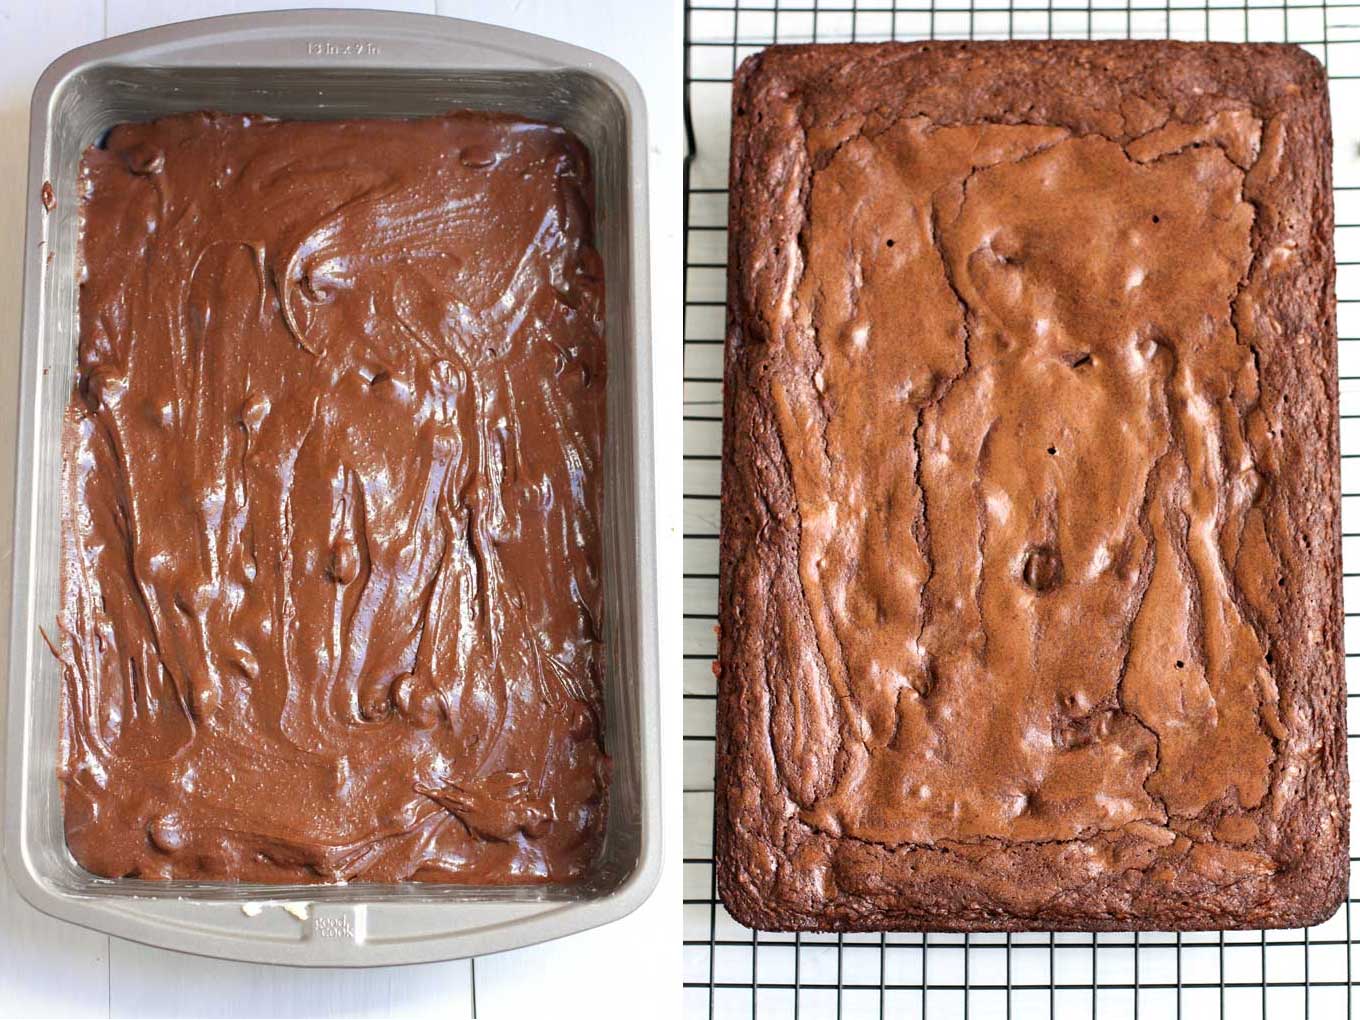
    • Pour brownie mixture in to a greased baking pan and smooth the top with a wooden spoon.
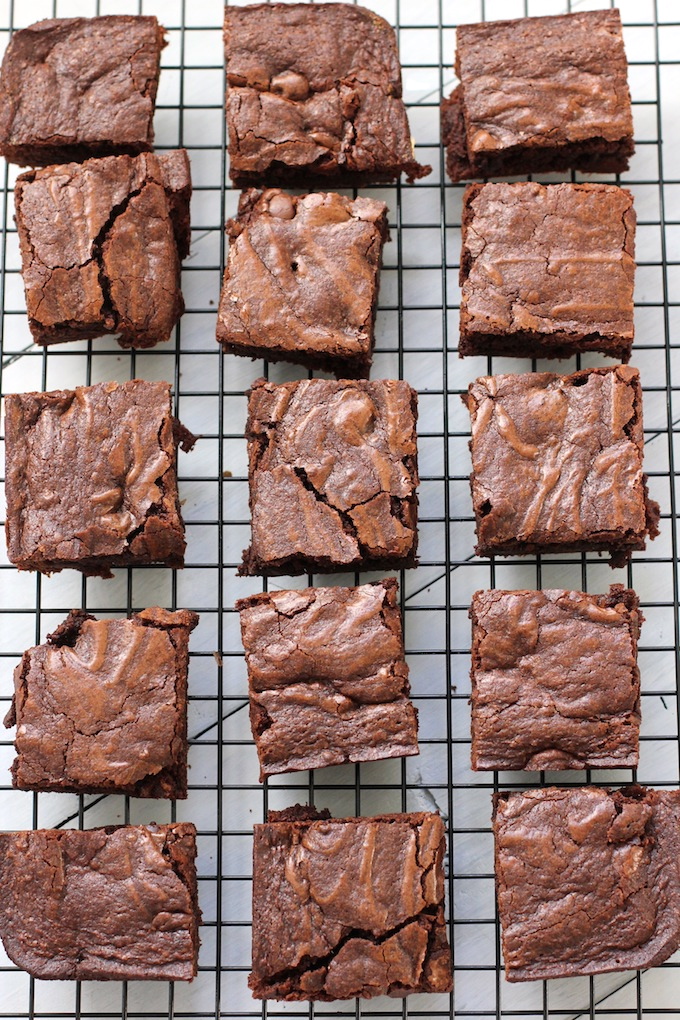
    • Once the brownie is baked, let cool completely before cutting into squares.

    I make these brownies all the time and they come out consistently every time – chewy, rich and with an intense dark chocolate flavor.

    Old Fashioned Brownies | Green Valley Kitchen

    I like these old fashioned kind of brownies.  They are the chewy, fudgy kind with firm edges and a softer center.  My friend told me we could be brownie buddies since I like the softer center brownies and she likes the firmer outer edge brownies – especially the corner pieces.

    A lot of readers have made these with their kids or grandchildren – so if you’re looking for a fun recipe to make with your family then this recipe is for you.

    Old Fashioned Brownies | Green Valley Kitchen

    A couple of notes:

    • It’s important to let the cooked brownie cool before remove it from the pan.  If you try and remove it too soon the whole brownie could break up into a bunch of pieces – so wait about 30 minutes before flipping the whole brownie out of the pan.   Once the brownie has cooled in the pan, gently loosen around the edge of the pan and the brownie with a thin metal spatula, you should then be able to easily flip the brownie out of the pan.  Also, you’ll get a cleaner cut on the individual brownies if you wait for the whole (uncut) brownie to cool and slice it up once it’s out of the pan.
    • I used dark chocolate chips which gives these brownies a rich, dark chocolate, slightly bittersweet flavor but if you wanted to lighten the brownies up a bit you could use regular chocolate chips.
    • Did you know that brownies will cook more quickly in a metal pan versus a Pyrex pan?  I cooked mine in a metal 9 x 13 non-stick pan.  If you are using Pryex you may need to cook your brownies a little bit longer than stated in the recipe below.
    • This recipe is from Hershey’s kitchens.  They have a lot of great recipes – so go check out their site if you’re looking for a great chocolate baking recipe.

    Want to stay in touch?  You can subscribe to receive free recipes or find me on Pinterest and Instagram too.

    If you make this recipe and enjoy it, please come back and leave a comment and rating.  I’d love to hear from you!

    Print

    Old Fashioned Brownies

    Old Fashioned Brownies | Green Valley Kitchen
    Print Recipe

    ★★★★★

    5 from 14 reviews

    A rich, dark chocolate brownie with a soft chewy center, firm edges and a crackly top. These old fashioned brownies are easy and simple to make using just one bowl.

    • Author: Geraldine
    • Prep Time: 20 mins
    • Cook Time: 35 mins
    • Total Time: 55 minutes
    • Yield: 24 brownies 1x
    • Category: Dessert
    • Method: Baked
    • Cuisine: American

    Ingredients

    Scale
    • 3/4 cup Hershey’s cocoa – unsweetened
    • 1/2 tsp baking soda
    • 2/3 cup butter – melted
    • 1/2 cup boiling water
    • 2 cups sugar
    • 2 eggs
    • 1 1/3 cup all purpose flour
    • 1 tsp vanilla
    • 1/4 tsp salt
    • 1 cup dark chocolate chips

    Instructions

    1. Preheat oven to 350 degrees.
    2. Grease a 9 by 13 baking pan.
    3. Add cocoa and baking soda to a large bowl and stir to combine.
    4. Melt 2/3 of a cup of butter over low heat on the stove (or melt butter in the microwave). With a wooden spoon, stir 1/2 of the melted butter into the cocoa and baking soda. Stir until combined.
    5. Add 1/2 cup of boiling water to bowl with cocoa and butter. Stir until combined.
    6. Add sugar, eggs and the rest of the melted butter to the cocoa mixture. Stir until combined.
    7. Sift in 1 1/3 cup of flour. Add vanilla and salt. Stir until combined and batter is smooth.
    8. Add dark chocolate chips to batter and stir until combined.
    9. Pour into prepared baking pan and smooth the top out with a wooden spoon. Bake for between 35 and 40 minutes. Mine took 35 minutes. Test with a toothpick for doneness.
    10. Cool for 30 minutes in pan. When cool, remove from pan and cut into 24 brownies.

    Notes

    It’s important to let the cooked brownie cool before remove it from the pan.  If you try and remove it too soon the whole brownie could break up into a bunch of pieces – so wait about 30 minutes before flipping the whole brownie out of the pan.   Once the brownie has cooled in the pan, gently loosen around the edge of the pan and the brownie with a thin metal spatula, you should then be able to easily flip the brownie out of the pan.  You will also get a cleaner cut on the individual brownies if you wait for the whole (uncut) brownie to cool before cutting it up into squares.

    If you make this recipe and enjoy it, come back and let me know by leaving a comment and a rating.  I’d love to hear from you.

    Nutrition

    • Serving Size: 1 of 24
    • Calories: 172
    • Sugar: 19.4g
    • Fat: 7.1g
    • Saturated Fat: 4.2g
    • Carbohydrates: 26.9g
    • Protein: 2.1g

    Keywords: Old Fashioned Brownies, Dessert

    Did you make this recipe?

    Share a photo and tag us — we can't wait to see what you've made!

    More Dessert

    • Chocolate Fudge with Candied Walnuts
    • Graham Cracker Toffee
    • Strawberry Crisp
    • Double Chocolate Chunk Cookies

    Filed Under: Dessert Tagged With: Brownies, Dessert

    Reader Interactions

    Comments

      Leave a Reply Cancel reply

      Your email address will not be published. Required fields are marked *

      Recipe rating ★☆ ★☆ ★☆ ★☆ ★☆

    1. Deb

      January 20, 2023 at 7:38 pm

      These are absolutely amazing! I followed the recipe exactly and added about 3/4 c of chopped walnuts with the chocolate chips. Best brownies I’ve ever made, and simple to make.

      Reply
      • Geraldine

        January 22, 2023 at 12:42 pm

        So glad this was a hit for you, Deb! Thanks for leaving a comment – I appreciate hearing from you. Walnuts are a great idea – I’m going to try that the next time I make them!

        Reply
    2. Debra

      December 31, 2022 at 11:44 am

      Never mind I see it. Thank You

      Reply
    3. Debra

      December 31, 2022 at 9:36 am

      HI
      How many squares do the 1x make?

      Reply
      • Geraldine

        January 08, 2023 at 12:52 pm

        Hi Debra – it makes 24 brownies – but you can make more or less brownies by cutting them bigger or smaller.

        Reply
    4. Mae Blanco

      July 08, 2022 at 4:45 am

      My second attempt to bake brownies and it was perfect. The first was from another site, it didn’t turn out well. Here I am going back to this same page because I’ll do a third attempt. I don’t really cook and I just thought of trying to bake for a change. This now will forever be my brownie recipe until all my hair turn white.

      ★★★★★

      Reply
      • Geraldine

        July 08, 2022 at 7:20 am

        Hi Mae – so glad you liked it and had a baking success! Love that this will be you forever brownie recipe – enjoy! Thanks so much for leaving a comment and a 5 star rating!

        Reply
    5. Diane

      September 20, 2021 at 11:08 am

      I just made these using only a mixture of 100% organic dark cocoa powder and carob powder. I DID add an extra tablespoon of grass fed butter, and I used coconut sugar and gluten free flour. Because of the gluten free flour I did have to bake it 10 minutes longer..
      It all worked perfectly!!!
      Due to having heds and macs and leaky gut syndrome, I have to get creative. Even being a chef doesn’t help alot when your allowed foods are severely limited.
      But this was incredible!!!
      Thank you so much.

      Reply
      • Geraldine

        September 23, 2021 at 7:29 am

        Thanks so much, Diane! I haven’t tried this with gluten free flour – so really glad that it worked out for you! Hopefully your comment will help someone else out if they are thinking about trying the recipe with gluten free flour – the extra 10 minutes in the oven is a good tip!

        Reply
    6. Ann Marie

      August 22, 2021 at 2:54 pm

      I was looking for an old fashioned brownie recipe, real chocolatey but more cake like than fudge, these hit the jackpot. I cooked them in a 13×9 metal pan, used parchment paper with enough paper over the edge so i could lift them out of the pan for easy cutting. I also eyeballed the pan and put mini Reese’s in one section, m&ms in middle and chopped pecans and caramel in the last section. They were a huge hit definitely my new go to brownie recipe.

      Reply
      • Geraldine

        August 22, 2021 at 5:58 pm

        Hi Ann Marie – thanks for letting me know. Love that you divided it up and added in a mix of Reese’s, m&ms, pecans and caramel – sound fantastic!

        Reply
    7. Kyra Jones

      June 21, 2021 at 6:17 pm

      This is the BEST brownie I have ever eaten. My family absolutely loved them. I substituted 1/2 cup of coffee for the water. To me, coffee really brings out the flavor of the chocolate. Thank you and I really appreciate all of the comments.

      ★★★★★

      Reply
      • Geraldine

        June 21, 2021 at 9:15 pm

        Hey Kyra – I need to try making this with the addition of coffee! A couple of people have mentioned trying that in the comments below. Also, I really appreciate you taking the time to leave a detailed comment (and 5 star rating!)!

        Reply
    8. Mel

      May 14, 2021 at 9:32 pm

      I can bake many things, but brownies never work for me. They are either over or under done. I’d love to try your recipe, but need to know what the toothpick should look like when I’m testing brownies for doneness…moist crumbs on the toothpick?

      Reply
      • Geraldine

        May 16, 2021 at 8:02 am

        Hi Mel – yes, moist crumbs are best. If the toothpick looks like it has wet chocolate on it then it’s underdone and if the toothpick comes out with nothing on it then it may be overcooked. Here’s a link to see a visual of what the toothpick should look like: https://recipeforperfection.com/tell-brownies-done/. Hope it works out for you!

        Reply
    9. Stephanie

      February 26, 2021 at 7:27 pm

      these are the best brownies I’ve ever made! They are perfect. They have a nice crust on top and are soft and a bit goey in the center.

      ★★★★★

      Reply
      • Geraldine

        March 01, 2021 at 8:39 am

        That’s great, Stephanie! So glad you enjoyed them and took the time to leave a comment and rating! Thank you!

        Reply
    10. Amy

      January 30, 2021 at 8:30 am

      This brownies were really cakey and I didn’t like them very much even tho I followed the recipe exactly.

      Reply
      • Geraldine

        January 30, 2021 at 12:30 pm

        Sorry this recipe didn’t work out for you, Amy.

        Reply
    11. Natalie

      January 15, 2021 at 5:18 pm

      My go to brownie recipe!! I love it! The dark chocolate chips cut the sweet and make it just perfect! My husband won’t let me use any other recipe to make brownies, it’s THAT good!! It’s AH-MAZING!!

      ★★★★★

      Reply
      • Geraldine

        January 16, 2021 at 4:18 pm

        Thanks so much, Natalie! I’m glad you and your husband love this recipe – I love the dark chocolate too. Thank you for leaving a comment and rating – I appreciate hearing from you!

        Reply
    12. Cindy

      January 03, 2021 at 5:53 pm

      When you say Hershey’s cocoa, do you mean the unsweetened Hershey’s cocoa? Just wanted to make sure.

      Reply
      • Geraldine

        January 03, 2021 at 6:41 pm

        Yes! I’ll add a note on the recipe card so there’s no confusion. Thanks for asking, Cindy – hope you enjoy them!

        Reply
    13. Alex

      November 15, 2020 at 12:58 am

      Amazing. Delish!!!! Lots of rich, buttery goodness.

      ★★★★★

      Reply
      • Geraldine

        November 22, 2020 at 3:40 pm

        So glad you enjoyed it, Alex! Thanks for leaving a rating and a comment!

        Reply
    14. Mindy

      October 24, 2020 at 1:00 pm

      Amazing….my family loves these!!! I switched out chocolate chips for mini M&Ms for a pop of color and the kids just loved it. will defidently be making these again!!

      ★★★★★

      Reply
      • Geraldine

        October 25, 2020 at 3:08 pm

        So glad this is family approved! Mini M&Ms sound like a great idea – love that pop of color. Thanks for leaving a comment and rating – I really appreciate hearing from you!

        Reply
    15. Darlena Martin

      August 07, 2020 at 6:01 pm

      Flipping awesome brownies. Made them with milk chocolate chips and I did not sift the flour because I can be an over mixer. I can dry out some brownies! They are so fudgy and did not fall flat like many brownies do in a large pan. They are delicious. I also put frosting on them. Yes, my sons wanted frosting which I was glad about. Highly recommend these and will definitely make again. They’re easy to make and you get a large amount. Thanks for sharing.

      Reply
      • Geraldine

        August 09, 2020 at 11:39 am

        So glad these were a big win for you and your family, Darlena! Frosting on top sounds decadent in a good way! Thanks for leaving a comment!

        Reply
    16. Lana

      May 15, 2020 at 12:33 pm

      Can I add a teaspoon of coffee powder to enhance the chocolate flavor?

      Reply
      • Geraldine

        May 21, 2020 at 7:53 am

        I haven’t tried that – but it should be fine. Let me know how it works!

        Reply
    17. Lana

      May 07, 2020 at 7:02 am

      Can i make this without chocolate chips?

      Reply
      • Geraldine

        May 09, 2020 at 5:57 pm

        Hi Lana – you really need to add the chocolate chips. Otherwise it won’t have enough chocolate.

        Reply
    18. Victoria

      April 29, 2020 at 4:39 pm

      I forgot the salt! But still delectable, the recipe is spot on. I used Special dark Hershey cocoa and milk chocolate chips. Then tried it with some walnuts and added a touch of olive oil. Baked them in the 4 mini loaf pan and enjoyed as a sundae! Thank you for your recipe.

      Reply
      • Geraldine

        May 09, 2020 at 5:58 pm

        So glad it worked out for you, Victoria. Love the mini loaf pan idea!

        Reply
    19. Alicia

      February 08, 2020 at 10:42 pm

      Its Sunday Feb. 9th 12 AM & I just made these…..they are delish 😋

      ★★★★★

      Reply
      • Geraldine

        February 10, 2020 at 7:33 am

        So glad you enjoyed them, Alicia – thanks for leaving a rating and comment!

        Reply
    « Older Comments

    Primary Sidebar

    Hi, I’m Geraldine. On Green Valley Kitchen, I’m sharing easy, fresh and healthy vegetarian recipes that anyone can make.

    More about me →

    Popular Recipes

    • Red Lentil and Vegetable Soup
    • Farro Salad
    • Avocado Spread with Cherry Tomatoes
    • Zesty Italian Pasta Salad
    • Ravioli With Sauteed Asparagus and Walnuts
    • Quinoa Chickpea Salad (Healthy)

    Categories

    Footer

    ↑ back to top

    About Us | Privacy Policy | Subscribe

    COPYRIGHT © 2023 · Green Valley Kitchen